Ready to unlock premium entertainment? This guide walks you through every step of preparing your streaming device for seamless access to live TV and on-demand content. Whether you’re new to streaming or upgrading your setup, we’ll simplify the process from start to finish.
You’ll learn how to connect your device, verify network connections, and activate service using your unique identifier starting with 00:1A:79. We’ve included pro tips from experienced technicians to help avoid common installation hiccups.
The guide highlights two essential activation details: your personalized gateway address and service label. These elements ensure proper registration with your content provider. Need help? Our team offers instant support through WhatsApp for real-time assistance.
Key Takeaways
- Complete walkthrough from device connection to content access
- Special identifier required for service activation
- Critical gateway information for successful registration
- Expert-recommended troubleshooting techniques
- Instant messaging support available throughout setup
New users can claim a free trial to explore channel options before committing. Let’s transform your viewing experience with clear instructions designed for all skill levels!
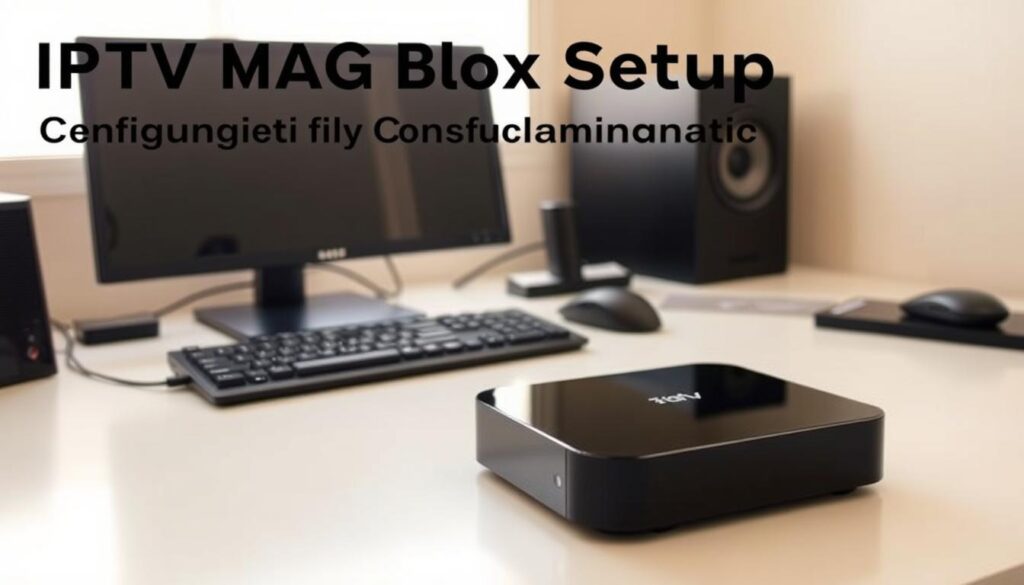
Getting Started with Your IPTV MAG Box
Let’s dive into preparing your new entertainment hub for action. This phase lays the foundation for smooth streaming—think of it as building a sturdy bridge between your hardware and favorite shows.

Unboxing Your Device and Initial Power-Up
Remove all components carefully from the package. You’ll find:
- A rectangular media player
- HDMI cable and power adaptor
- Remote control with batteries
Locate the sticker showing your unique identifier—a code starting with 00:1A:79. This is your golden ticket for activating the service later. Connect the device to your TV’s HDMI port and plug in the power. Switch your TV input to match the port you used.
Connecting to the Internet
Choose your preferred method:
- Wired: Use an Ethernet cable for rock-solid stability
- Wireless: Select your WiFi network through the on-screen menu
Navigate to Network Settings using your remote. Double-check that the connection shows “active” status. First-time users can test the system with a free trial—no credit card needed. Our support team is just a WhatsApp message away if you hit snags during setup.
Pro tip: Write down your identifier code before moving to the next phase. This ensures quick access when configuring your portal details.
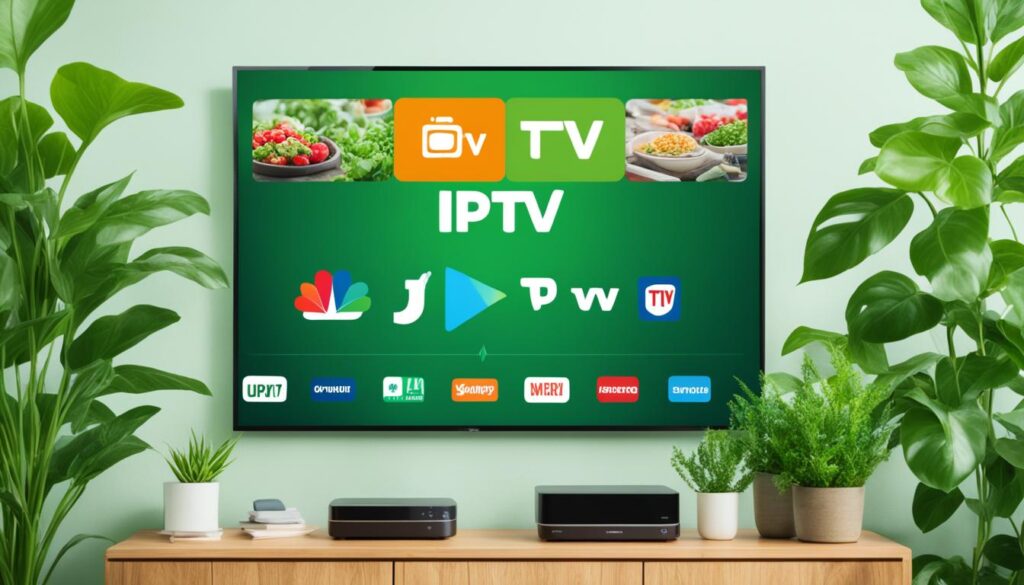
iptv mag box setup: Navigation & Configuration
Time to fine-tune your streaming device for optimal performance. This phase focuses on precise adjustments that connect your hardware to premium content libraries. The built-in media player app handles everything – no need for additional downloads.

Accessing System Settings and Network Configuration
Press the Settings button on your remote. Scroll to “System Preferences” using the directional pad. Confirm your internet connection shows “Connected” status before proceeding. Stable networks prevent buffering during later stages.
Entering Portal Information
Navigate to “Portal Settings” using your remote’s center button. Carefully type the exact portal name and URL provided by your content supplier. Double-check uppercase letters and special characters – even small typos block access. Example: GetMaxTV_Service instead of getmaxtvservice.
Finalizing Activation
Save changes and restart your device through the menu. Verify activation by locating your unique identifier (starting with 00:1A:79) in the account dashboard. Most issues arise from incorrect portal details or unstable networks – our WhatsApp support team resolves these quickly.
Pro tip: Snap a photo of your device’s identifier code during setup. This simplifies troubleshooting if registration hiccups occur later.
Advanced Setup, VPN Integration & Troubleshooting
Optimize every detail for flawless content delivery and security. These expert-approved adjustments help maintain smooth streaming while protecting your privacy. Let’s tackle the technical tweaks that separate basic users from power streamers.

Sync Your System Clock Properly
Head to System Settings and select “Time & Date.” Replace default values with pool.ntp.org as your NTP server. This keeps shows synced with live broadcasts. Choose your local time zone from the dropdown menu – mismatched settings cause schedule errors.
Visual Quality Upgrades
Find “Display Options” under device preferences. Set resolution to match your TV’s native specs for sharper images. Enable “Full Screen Mode” to eliminate black borders. “Streamers often forget display settings override portal quality,” notes a GetMaxTV technician.
Quick Fixes for Common Hiccups
If channels disappear:
- Press the Menu button remote twice to refresh
- Check box internet speeds exceed 15 Mbps
- Restart portal through System Tools
Pair your remote by holding OK + Back for 5 seconds. For persistent issues, connect through a VPN – it encrypts data and bypasses speed limits. Always verify portal addresses with your service provider to avoid broken links.
Pro tip: Bookmark your setup guide for future reference. Most glitches resolve with simple reboots or portal restarts!
Conclusion
You’ve now completed every stage—from unboxing your streaming companion to optimizing display quality. Each step ensures crisp videos and reliable access to live broadcasts. Proper network connections and precise portal details form the foundation of your viewing experience.
Remember to test your setup with the free trial before finalizing service plans. Our team remains available via WhatsApp for instant troubleshooting—most glitches resolve by rechecking portal addresses or restarting your device.
Boost security and streaming speeds by activating a VPN. This protects your data while connecting to content servers. Your customized settings now deliver theater-quality playback on any screen.
Ready to press play? Follow this guide’s sequence exactly as outlined, and you’ll unlock endless entertainment within minutes. Bookmark these instructions for future reference—they’re your key to hassle-free adjustments.
Questions? We’re here to help. Enjoy your upgraded viewing journey!